The idea
It must have been a long time since I started dreaming about creating a UGV with extensive telemetry and parametrization, military-grade (!) construction, semi (or maybe fully) autonomous navigation, with good FPV support and encrypted communications. I decided to give it a go and see what I can do, as it’s very fun and challenges all parts of my knowledge: software, hardware, electronics, DIY etc. The first attempt should be something less than a prototype. I will focus on the design of the main control unit and its development on a small, easy to hack device. It should also be easy to transfer to another chassis, as I am planning to create it from scratch.
The car
One of the RC cars I had on my closet was a Nikko Velocitrax.
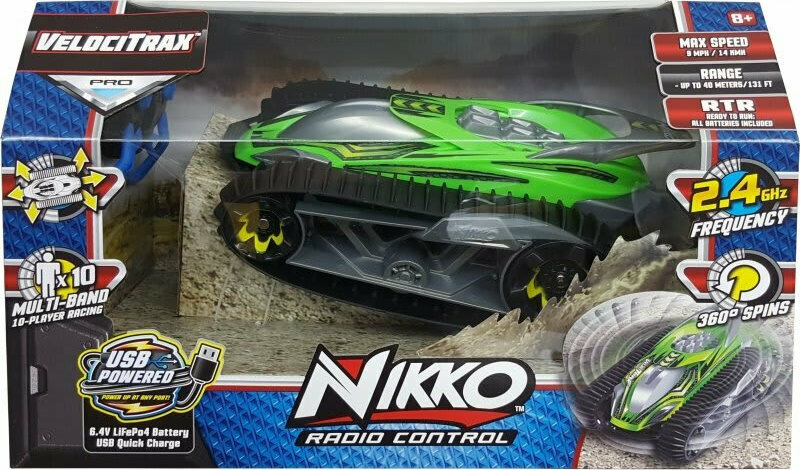
It was given to me as a gift and I had been playing a bit occassionally. The biggest issue with it was that it only worked at full speed. The remote controller that comes with the box does not have gimbals that gradually increase or decrease speed, but only buttons and the motors are way too powerful so it’s very difficult to drive it in limited spaces (for example inside the house or on a small garden). No matter how much I liked the construction quality of the car, it lived on the shelf.
Dissassembly
I first took some photos to keep track of the original design of the RC, then I desoldered the motor and power cables from the PCB.
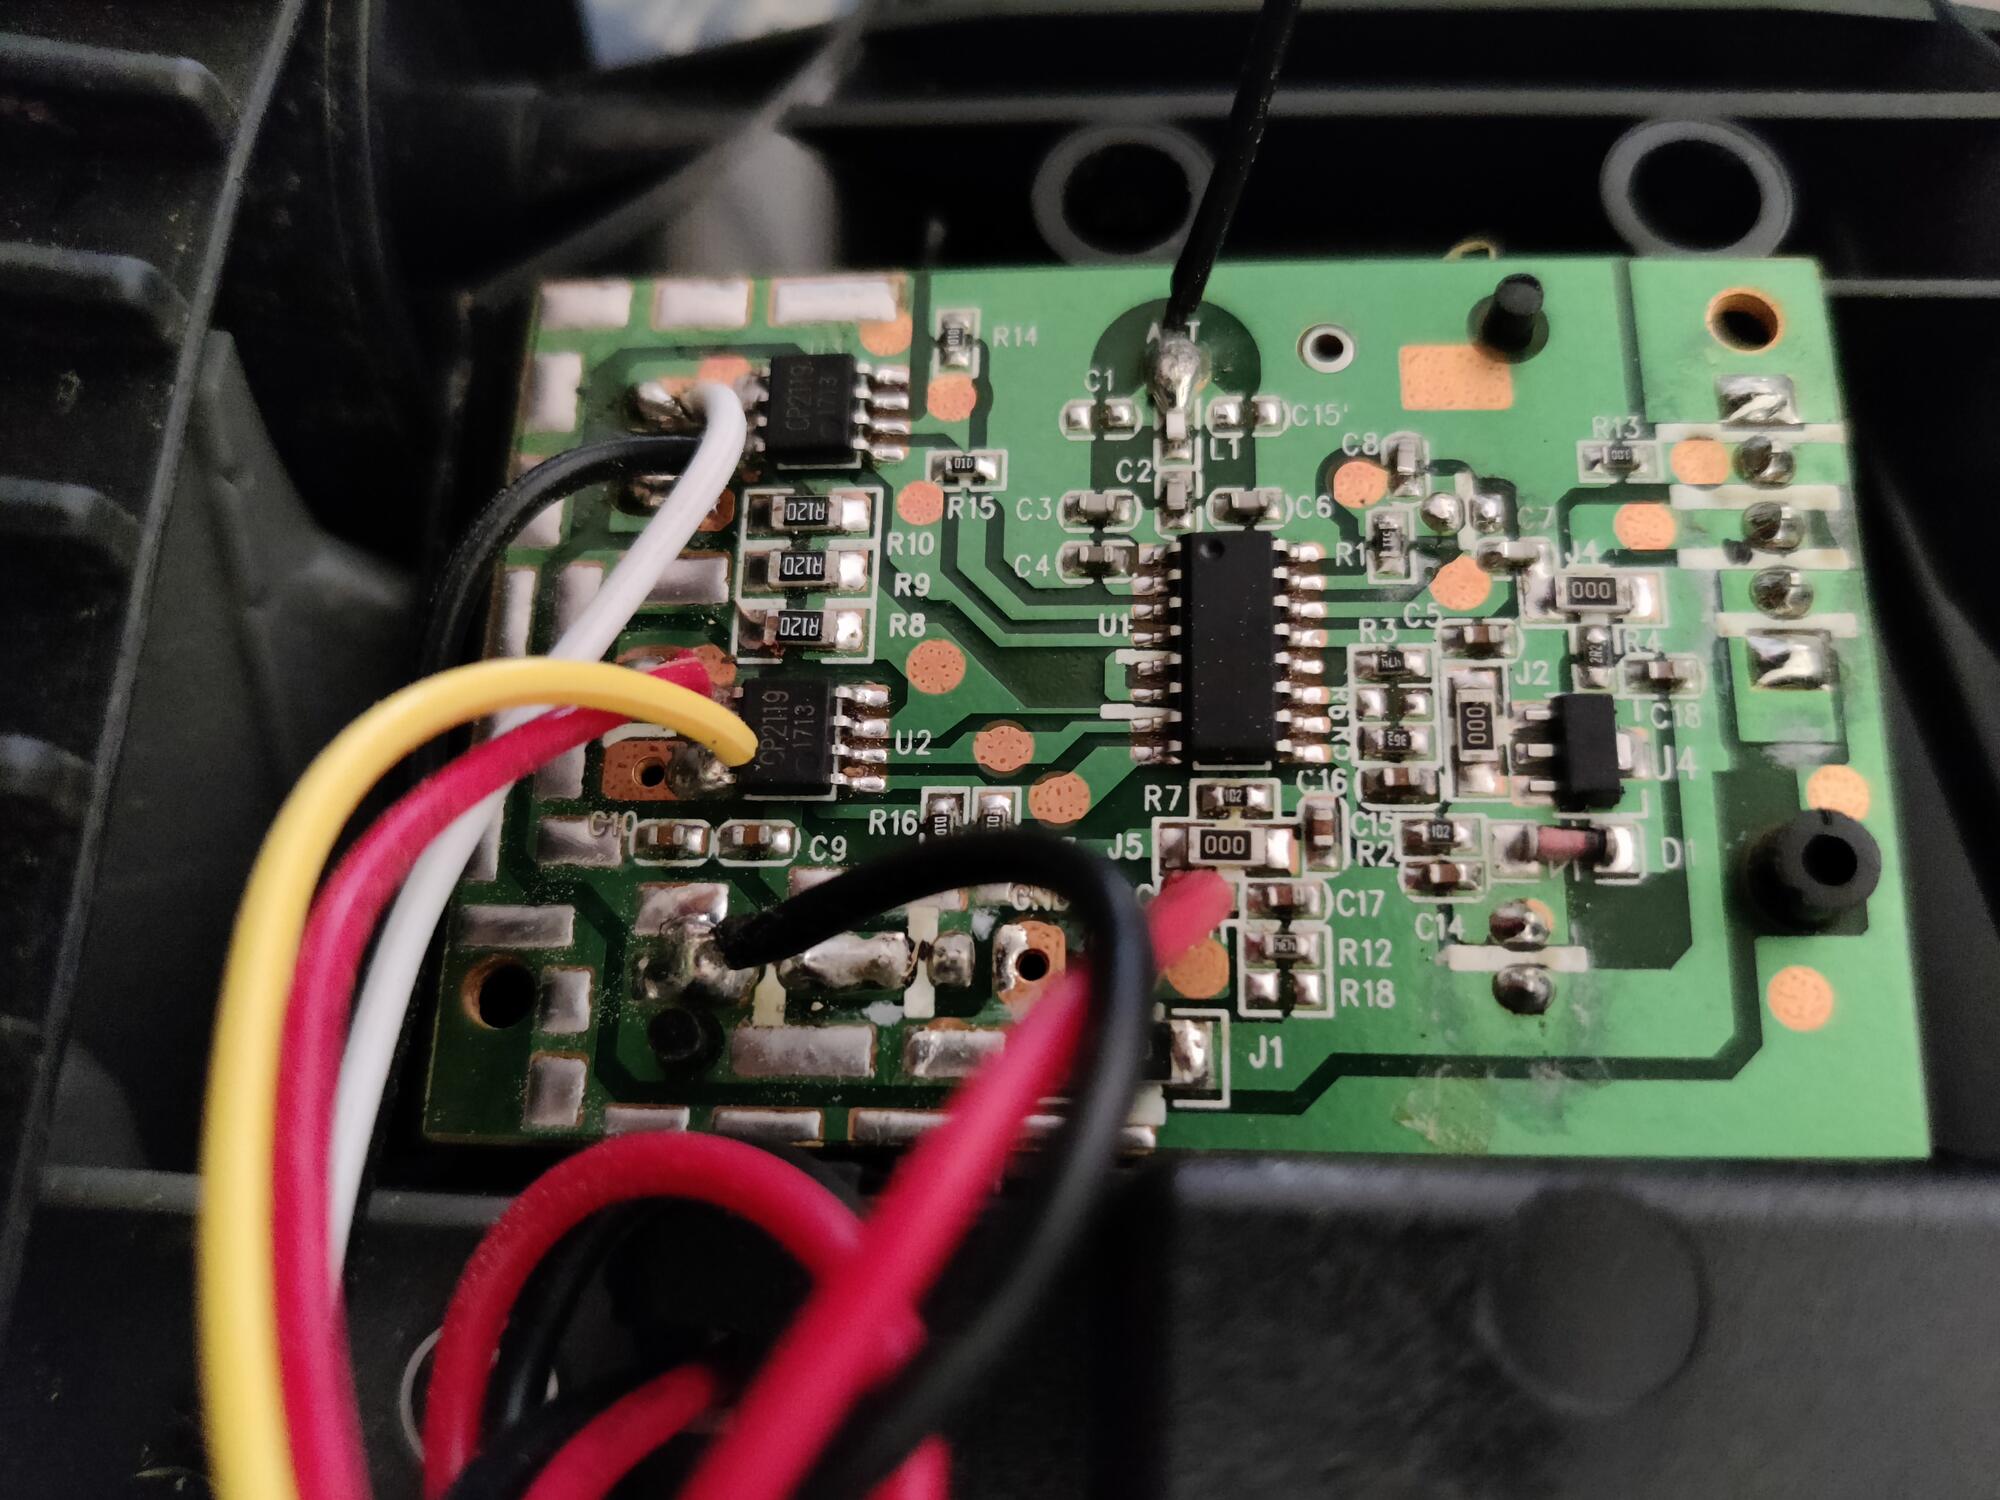
The mcu
Initially I tried to use the plain, classic and several times used, Arduino Nano. I had some issues with my Linux O/S and the drivers, because all my nano’s were Chinese clones and I already spent some hours to make the CH340 chipset for USB work but tr repeatedly failed. I had done this successfully in the past a long time has passed since then and I was starting to get deeply tired. I decided to give the new Raspberry Pico a go because it seemed like an upgraded Nano to me and uPython is also quite fast and straightforward to program.
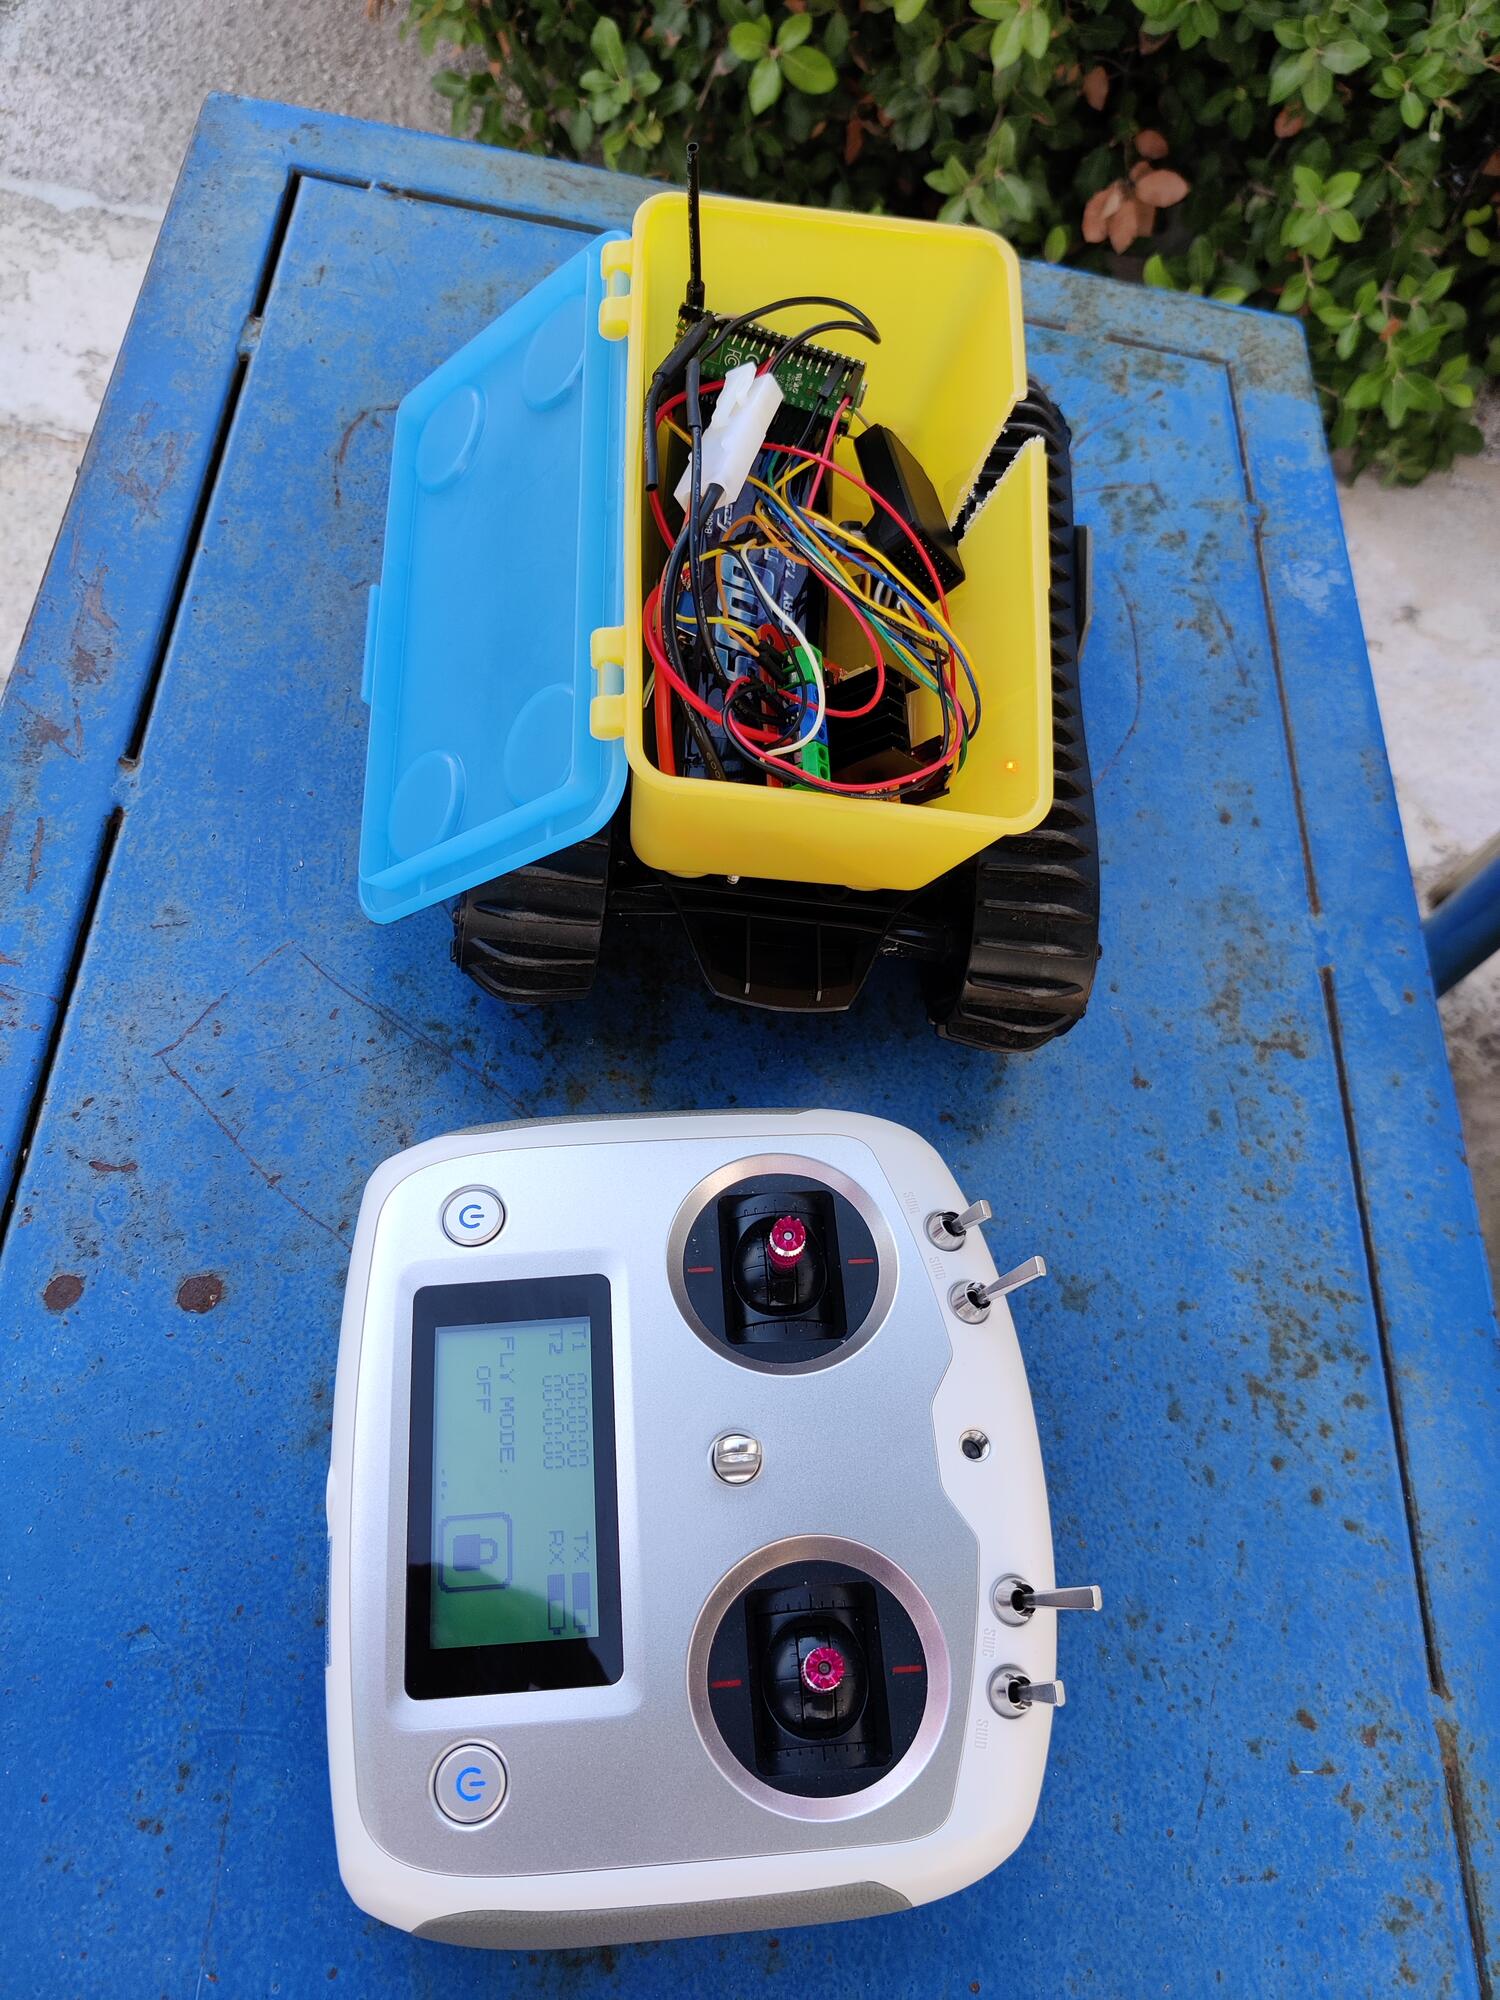
The controller
I have never used a third party controller other than the one included with my RC’s. A friend of mine who has constructed an RC Aircraft by himself, suggested a Futaba one but unfortunately I found out they were too expensive for me to invest on, for only an experiment that things most possibly will crash and burn. Several searches on similar projects showed that FlySky controllers are widely used for DIY projects and they possess a great VFM rate. I choose their latest one which seems futuristic and has a touch screen.
The box with the controller and the transmitter arrived.
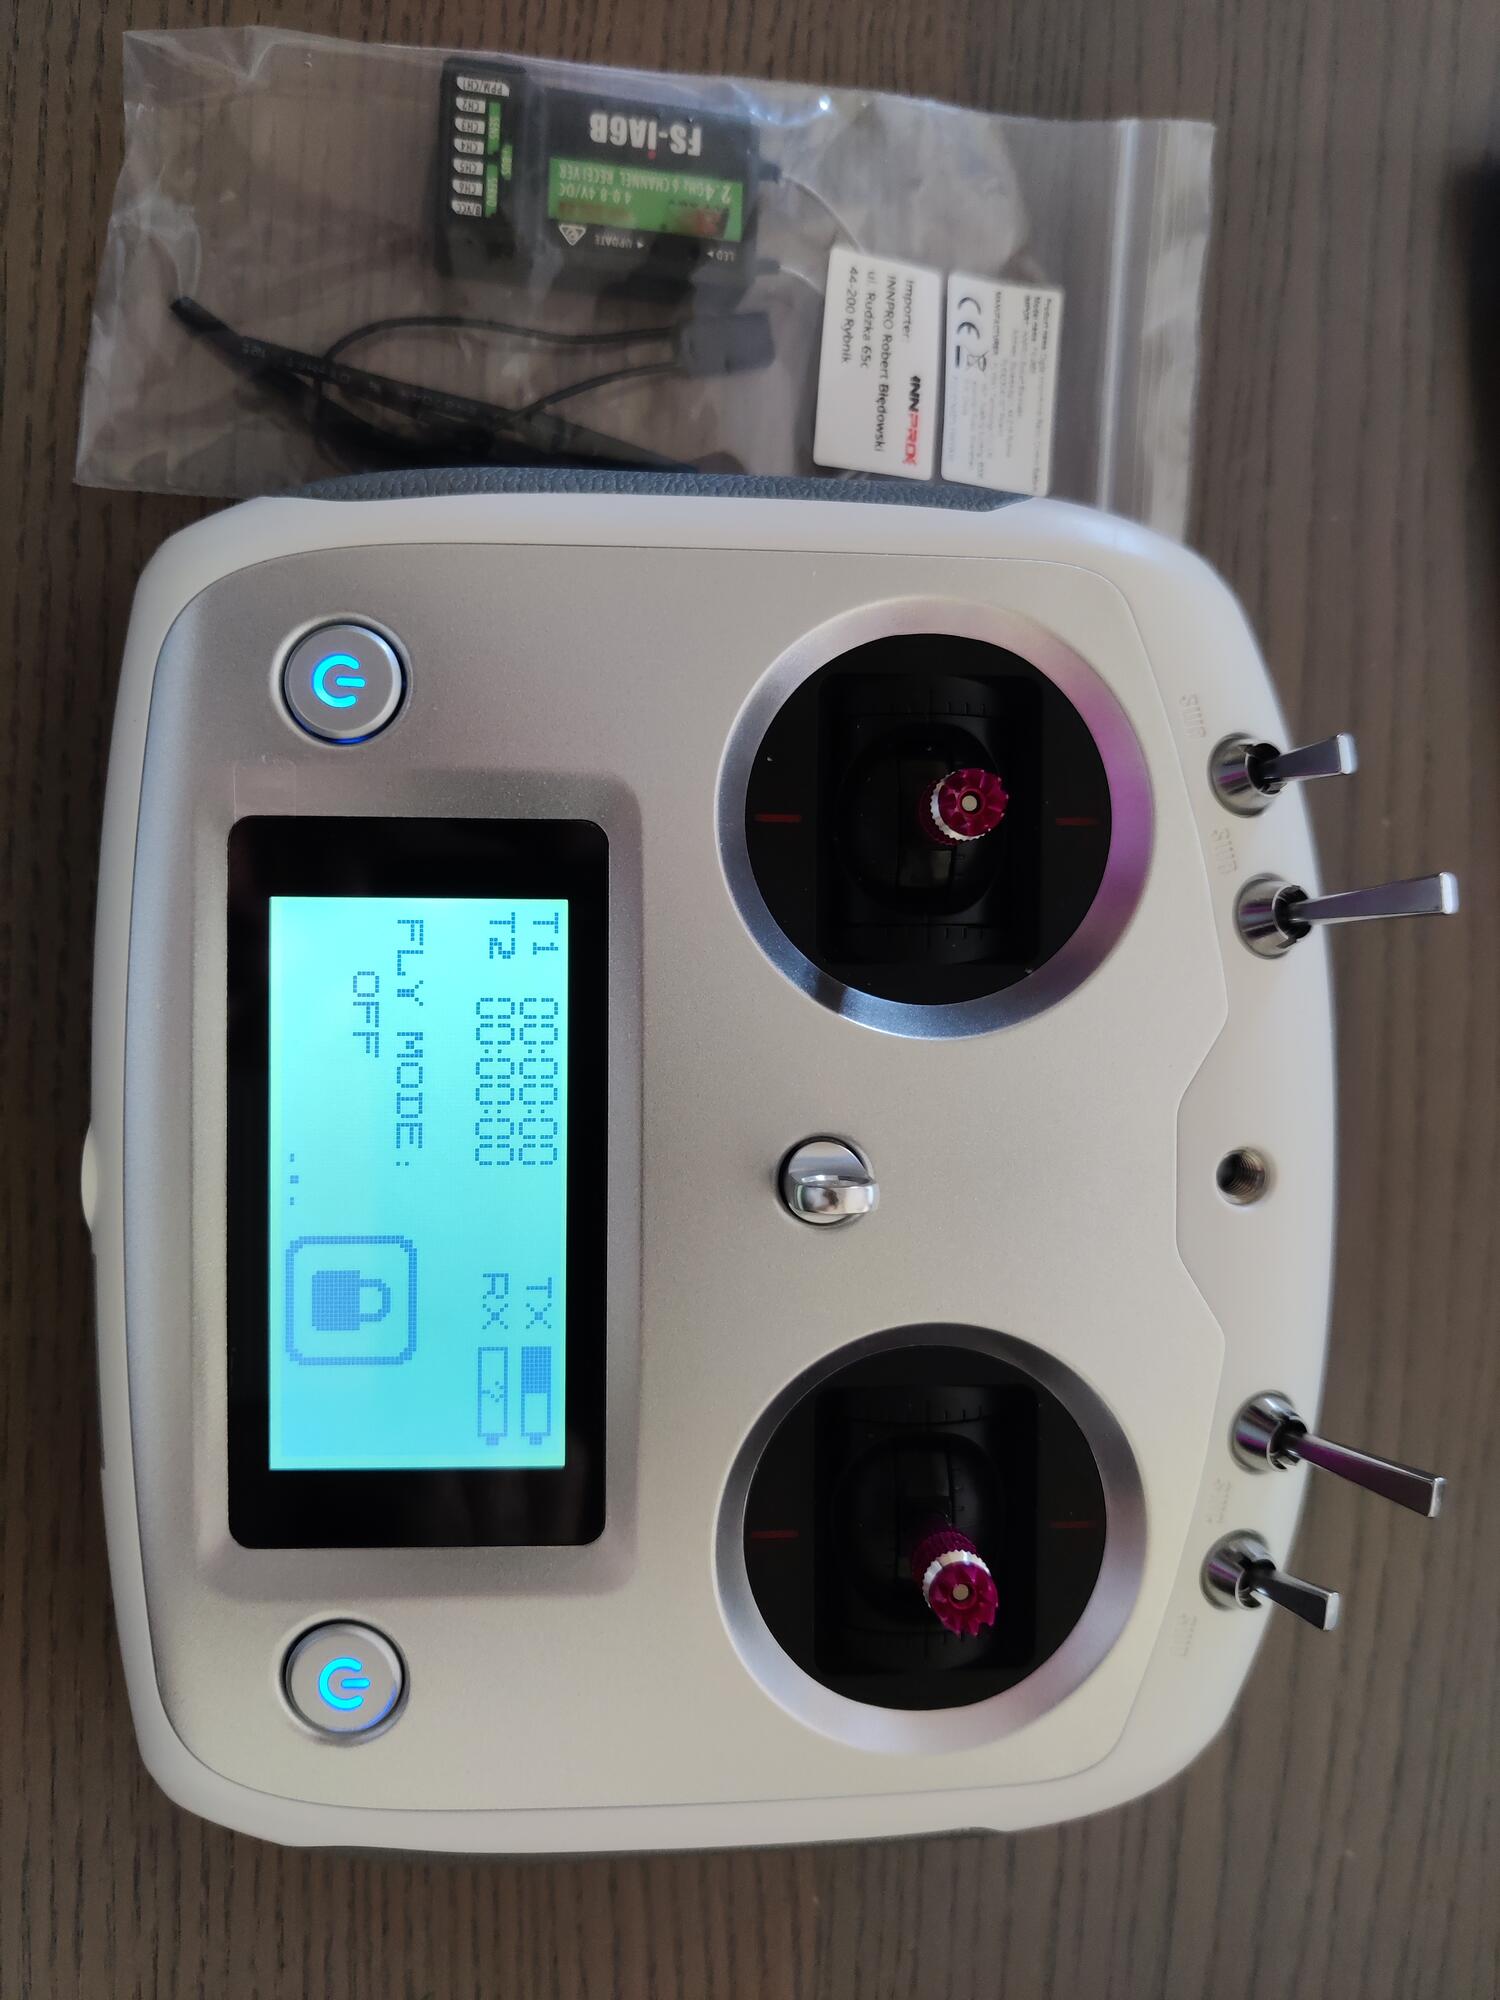
I don’t get the point of why they have to include a 6 channel transmitter with a controller that supports 10 channels. I opened the box and installed some batteries in it. At this point even though it wasn’t connected to a vehicle, it looked pretty awesome as a standalone gadget device. It has a blue backlight screen and the touch layer has a great response. I didn’t expect it to be that good tbh.
One of the killing features is the iBus protocol where you can control all channels with only one hardware pin instead of n ones where n = no of channels.
The motor driver
First attempt
I usually try to keep things as simple as possible in order to reach the first milestone that things just work as soon as possible and then improve from that point on. My first attempt was to use a presoldered motor driver shield which seemed of a very good quality to me. This Kitronik one:

The setup was very easy. I connected the cables from the two motors to the very well designed screw terminals. The GPIO pins are predefined so I downloaded this Micropython Kitronik Motor Driver uPython library and in 5 minutes the motors started moving.
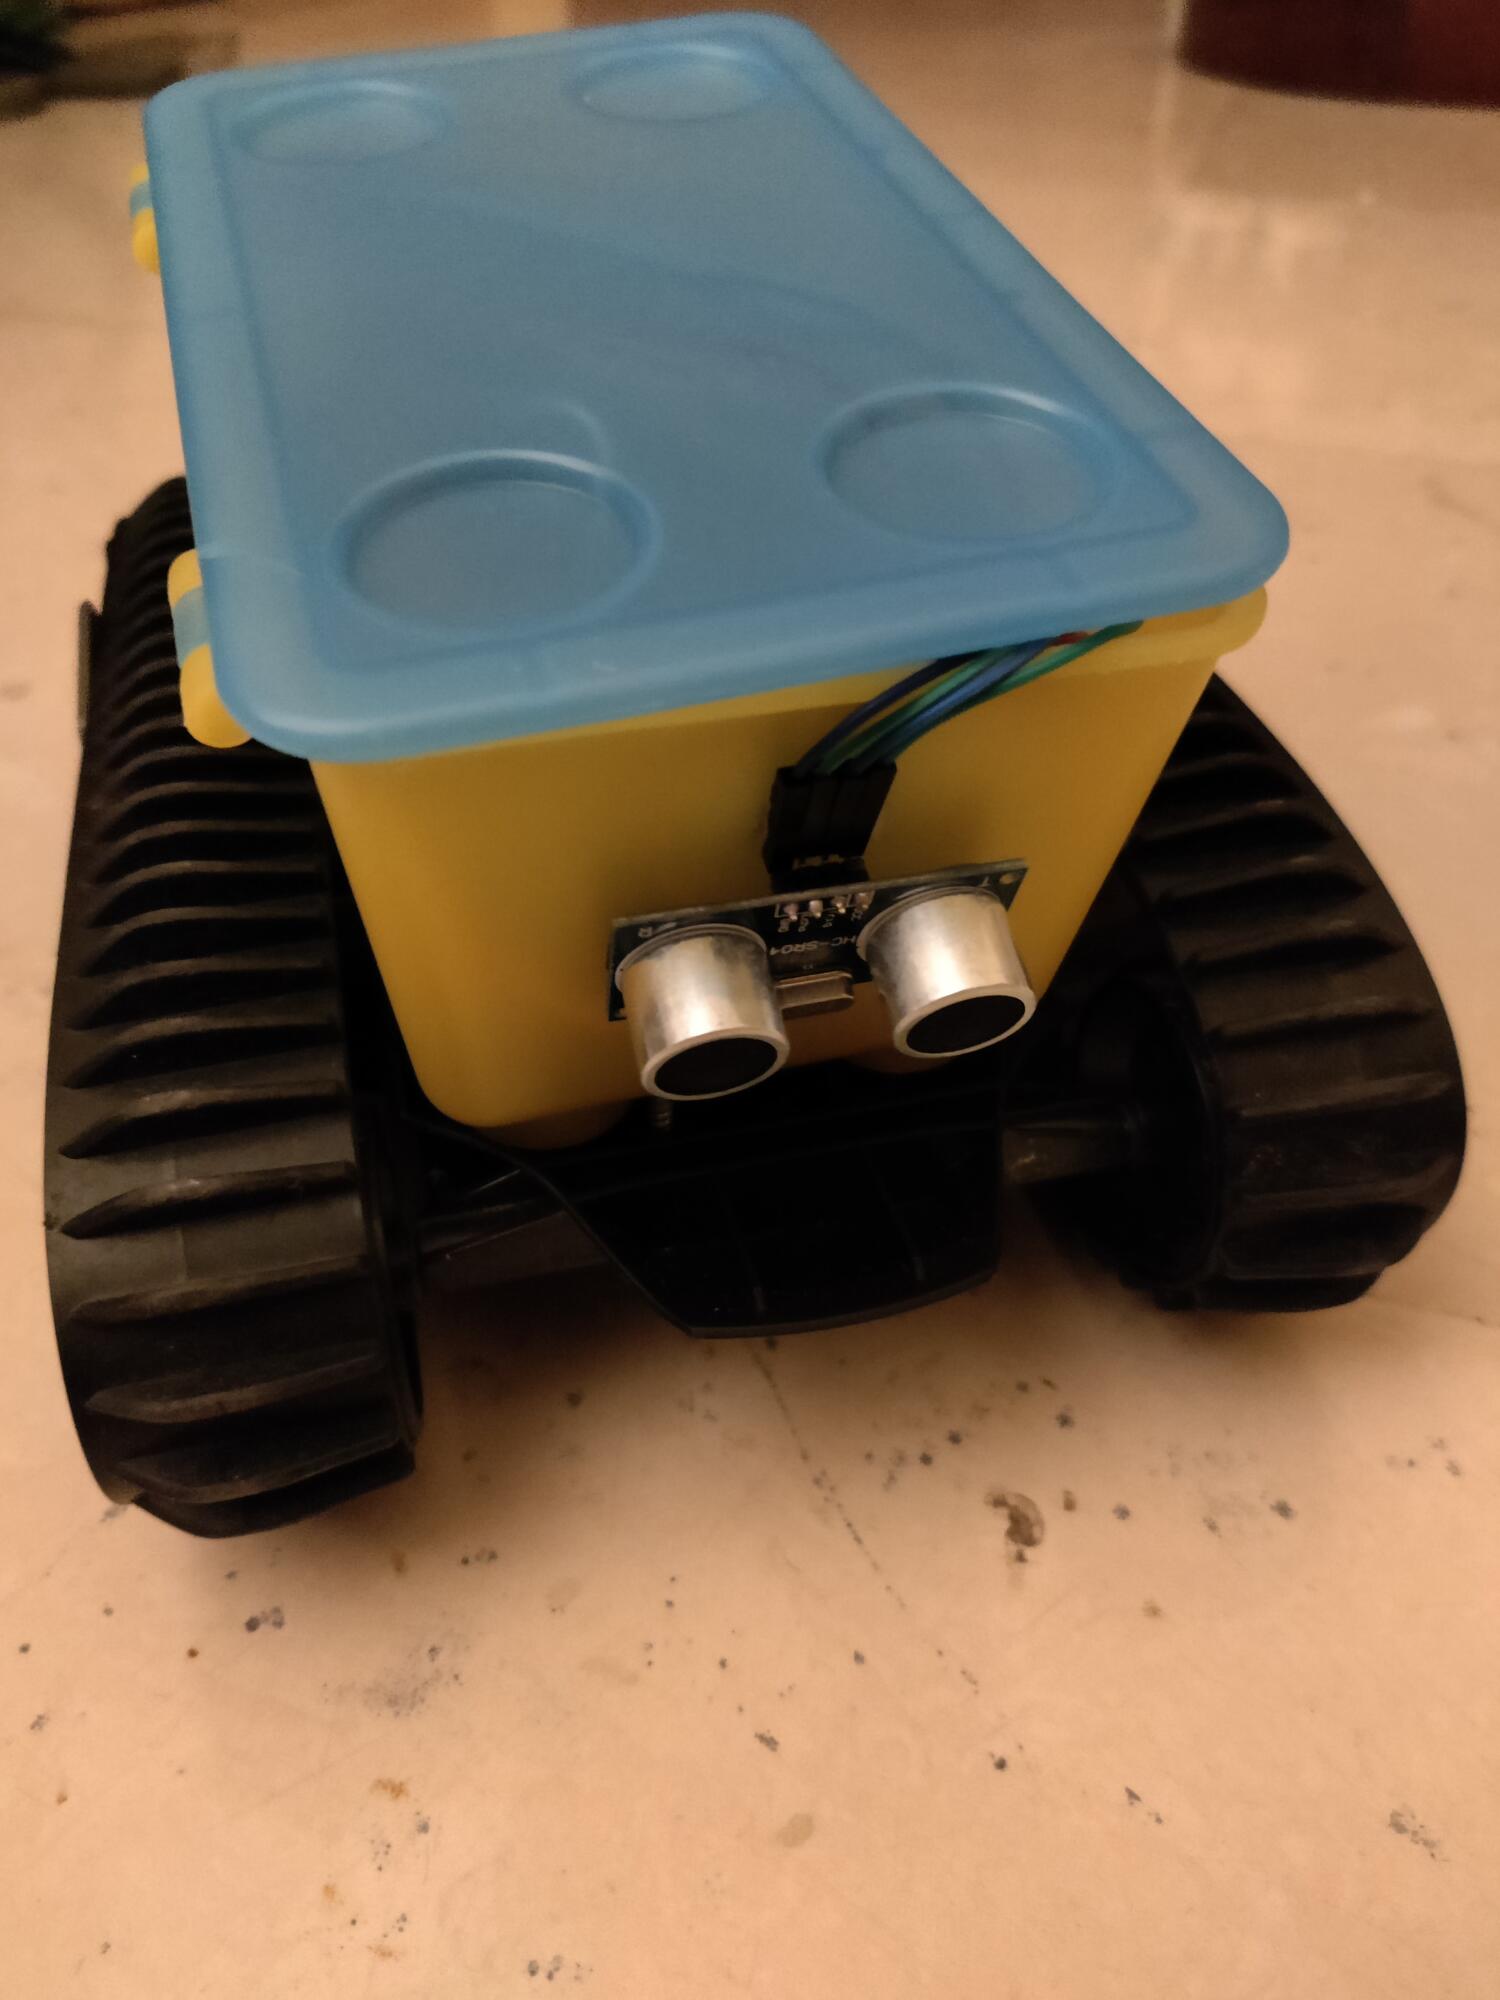
Ultrasonic sensor
HC-SR04
No need to say much about this one. This is always a tricky one but very cheap and easy to use. The greatest downside is that it loses accuracy under 4cm.
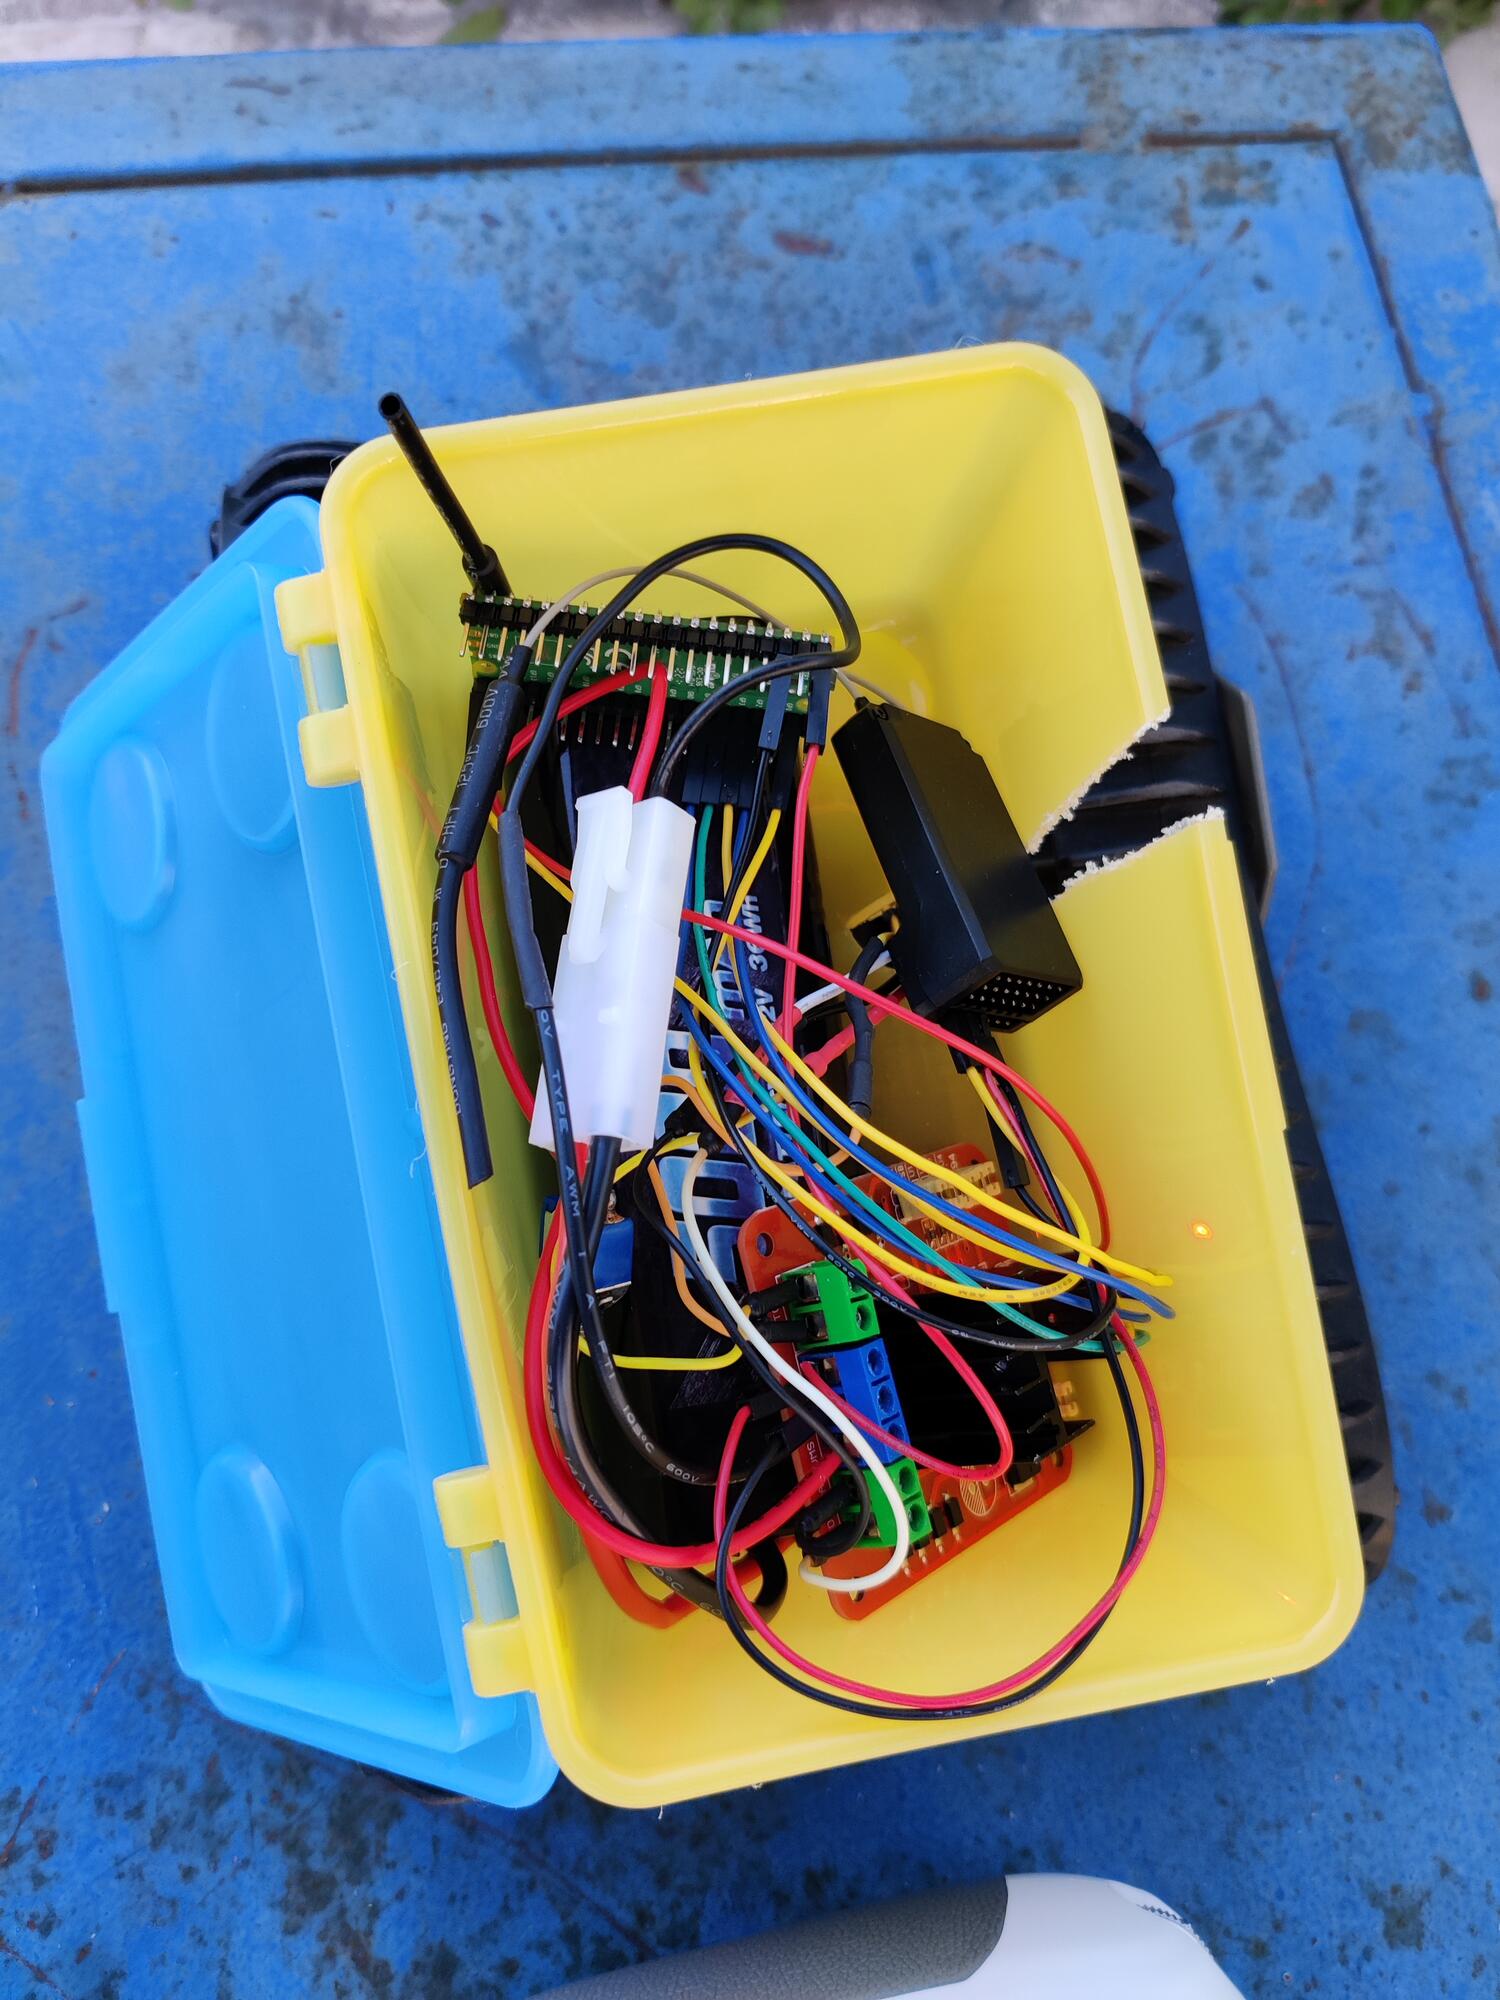
Cooking all things together
This is how things looked after connecting them all together.
Inside…
and outside…
First test
First Fail
Hopefully, the motors worked fine but I witnessed some strange behavior. I was going forward/backwards several times and the motors accelerated somehow strangely. At some point, after several minutes of driving and testing, smoke went out the motor driver. Tt simply died just like this, never worked again.
The motors consume less than 1A while running and they peak at 2.2A. These peaks stretched the Kitronik shield too much. I think that maybe they should have some sort of protection for current overload.
Fix
I researched for solutions and motor drivers quickly available in Greece, cause I didn’t want to lose time to order from Europe or abroad. Finally most of the drivers I could find was boards based on the L298n chipset, so I ordered two of them, just in case.
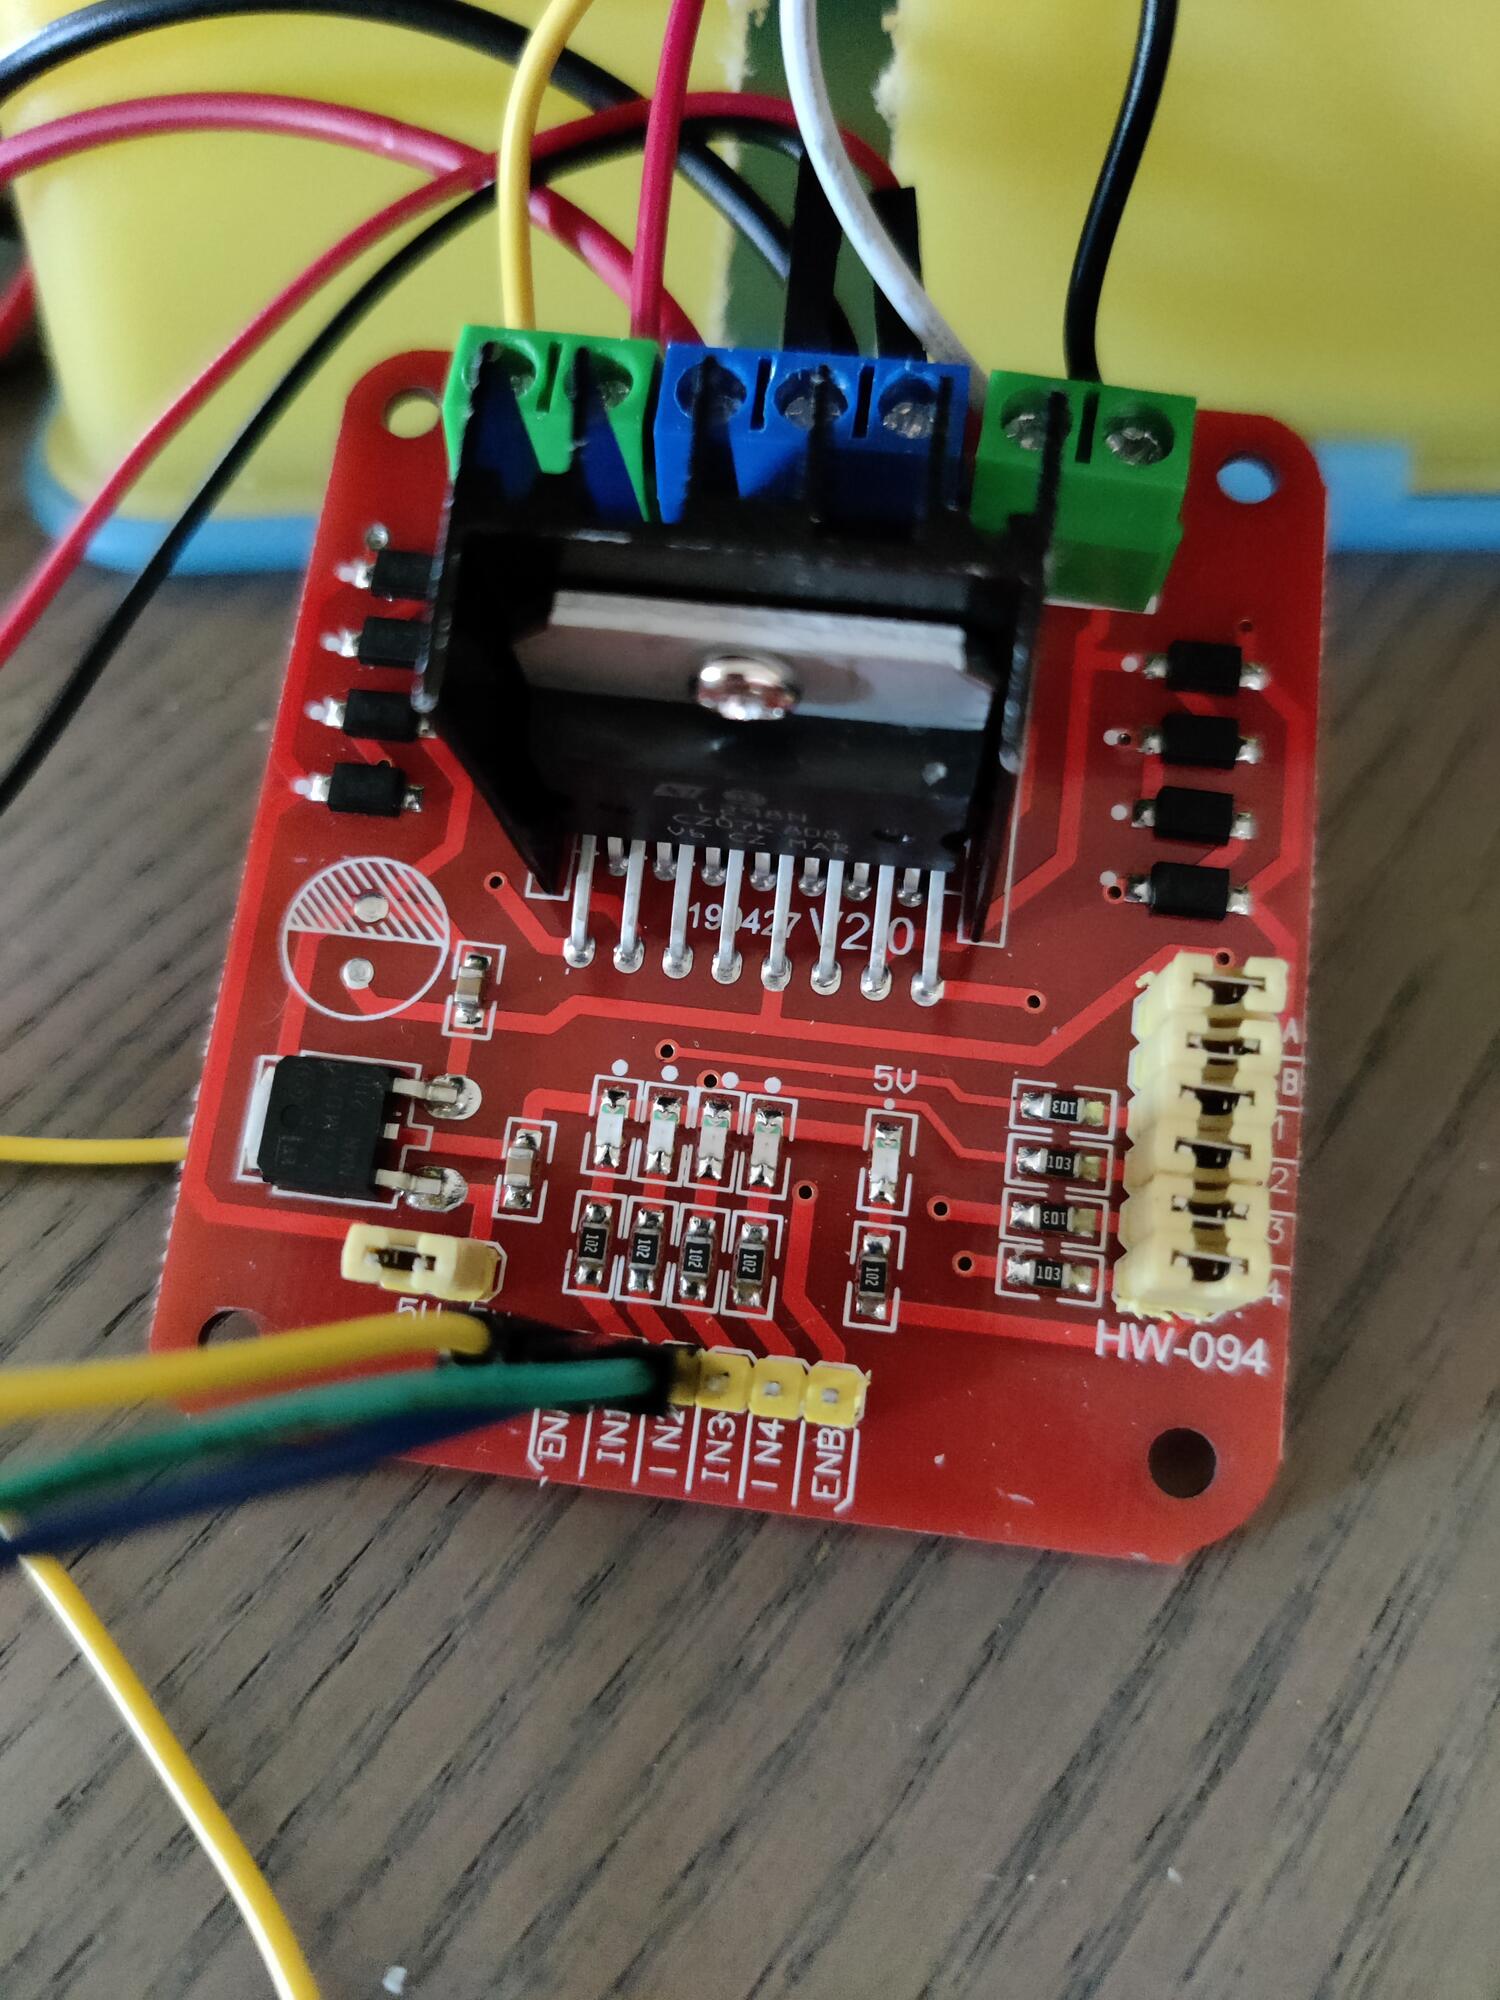
The L298n is a pretty old chipset which does the job but has some downsides. One of them is that it has a voltage dropout of 2V so my motors instead of 7.4V work at 5.4V. It also gets hot after some minutes of hard usage but it has a heatsink installed so I am more confident it won’t be fried very easily like the Kitronik one. So far I’ve been using it for a month with no issues.
Another thing is that sometimes while it gets very hot, stops to function. It might be just a coincidence but I am happy with it because as I said, I don’t have to buy new boards and switch over every few hours/days of experimenting and frying them out. I have also purchased some new motor drivers (an MDD3A and another 7A motor driver) which will be on my next list of hardware upgrades.
Second test
This time everything went fine except some random glitches that I haven’t identified yet. I was able to control the car from several meters away although I haven’t placed the antenna properly.
I have also tried to implement an ABS algorithm for break assistance but things became complicated too quickly. Then I decided to rollback and use just a simple condition to stop movement If the distance to some object on the front of the car is less than 40cm. No need to go further at this point.
What’s next
There is lack of space but..
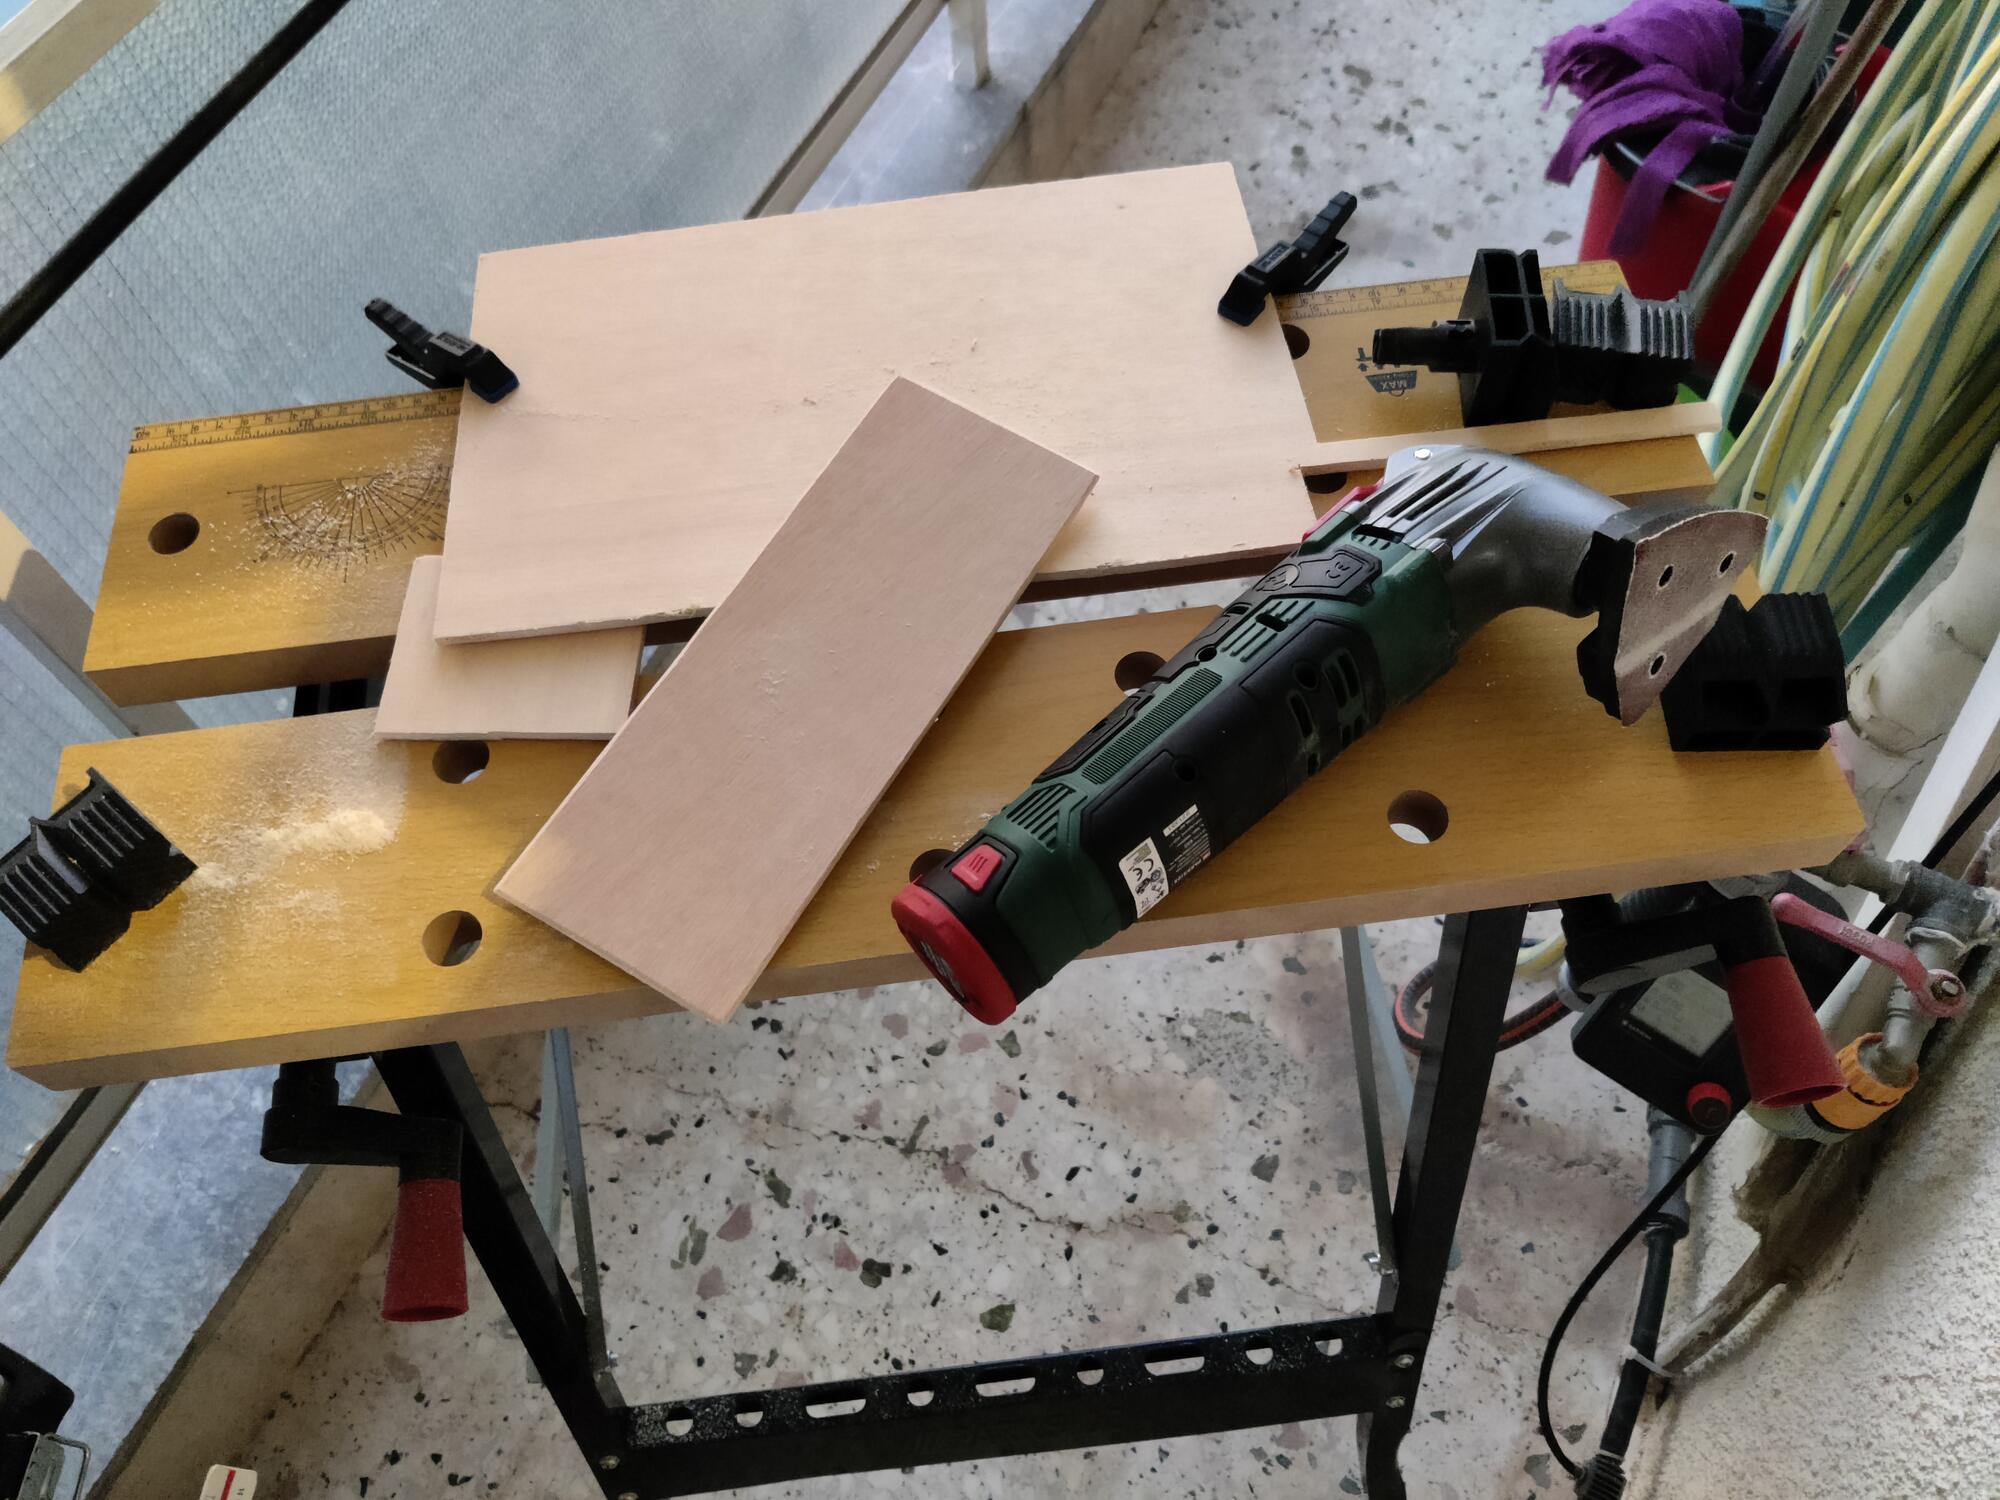
I will be creating a very draft plywood case as for a beginning or apply some modification on the original one.
I am also conducting some tests with my nrf24 modules to use them for telemetry and additional parametrization of the car. Lights controlling with 5050/WS2812 leds will also be possibly included on next version.